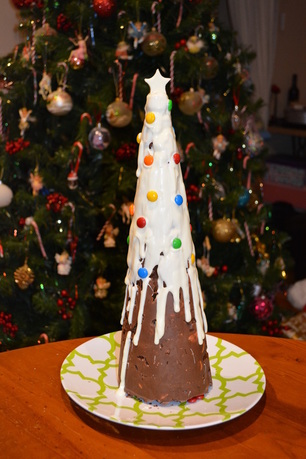
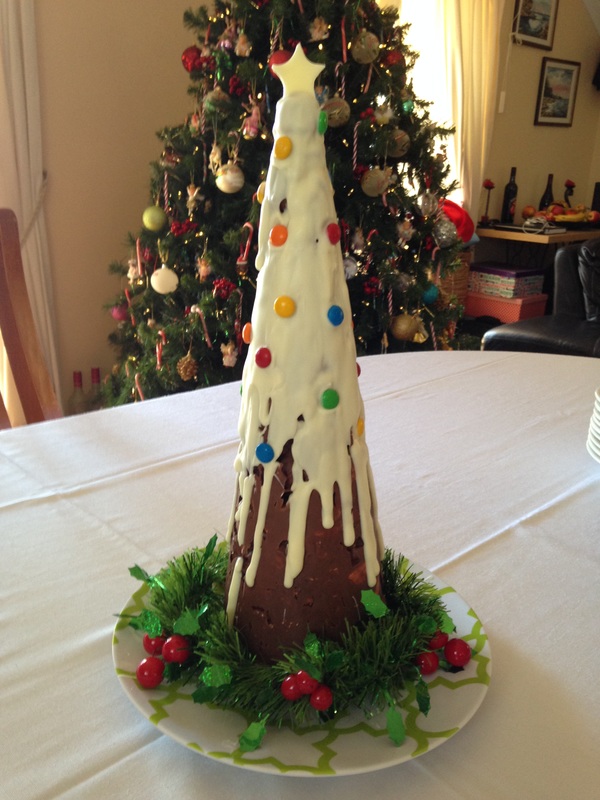
I made this for the first time nearly 20 years ago but then I forgot about it. A friend of mine recently reminded me of it so I had to make it again. I'm so glad I did, as it is so easy to make, probably the hardest part is making the cone out of cardboard, once you figure that out, the rest is easy.
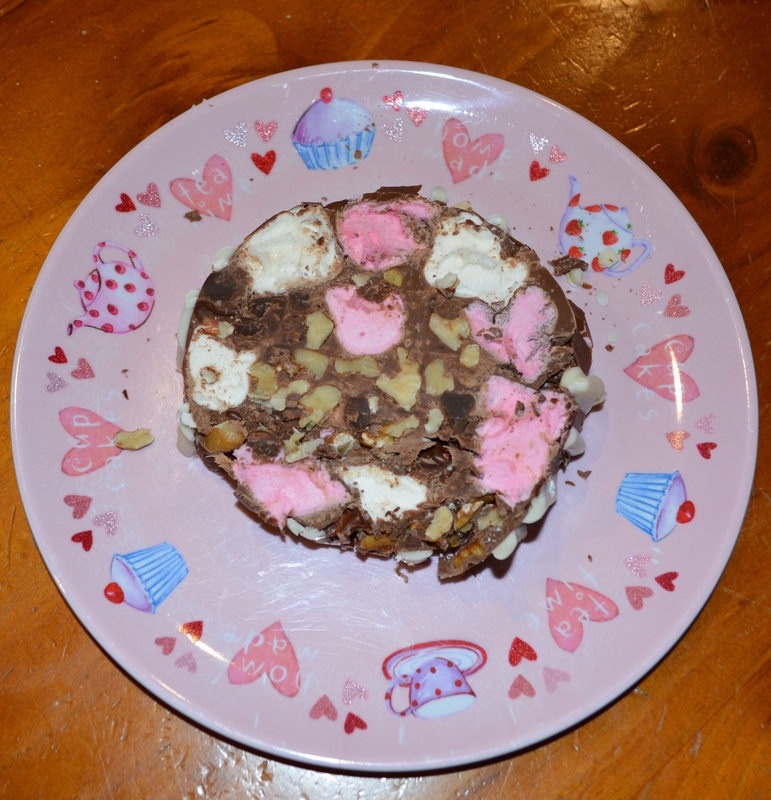
When slicing, you turn it on its side and cut discs from the bottom, then cut those discs up, the tree can then remain standing, but will be smaller, giving you days of sweet rocky road treats and days of a table centrepiece.
This looked beautiful on my table, give it a try, it really is easy and looks amazing.
Recipe
Serves 20
750g milk melts, melted
250g dark choc bits
500g marshmallows
250g California walnuts
200g white melts, melted
M&Ms, for decoration
You will need a large sheet of cardboard, about 64cm x 36cm in size. I got mine from the news agency, school project size.
Cut two sheets of baking paper large enough to cover the cardboard on one side. Staple or tape the baking paper to the cardboard.
Find the centre of the long end of the cardboard and mark it with a pen. This now is the top of the cardboard. Baking paper side up, pick up the right bottom corner of the cardboard and bring it to the centre mark you made, now tuck the corner under and staple or tape it in place. It should begin to look cone shaped and the baking paper will be on the inside of the cone (See diagram 1).
Next wrap up the remainder of the paper around your cone tightly, making sure the cone tip end of the cone is completely closed. Secure with some tape (see diagram 2).
Trim the open end so that the cone will stand straight when set (see diagrams 3 and 4)
In a large bowl, add the marshmallows, choc bits and walnuts, mix to combine. Pour over the melted milk chocolate, mix until well combined. Add a marshmallow to the cone first and press it into the point of the cone, then add the remaining marshmallow mix, pressing down well as you go.
To decorate, remove the cardboard carefully from rocky road and place the rocky road on a serving plate.
For the star: Place a small sheet of baking paper on a work surface, spoon on 2-3 tablespoons of the white chocolate on the baking paper, spread out gently, you want it to be about 3-4mm thick, this will be your star. Once the chocolate has nearly set, press a star cookie cutter into the chocolate and carefully push out a star. (If the star breaks remelt the chocolate and try again).
The remainder of the white chocolate needs to cool slightly, if too hot you will melt your tree. Once it has cooled slightly, drizzle the white chocolate on the tip to run down the side of the tree. Here you put as much white chocolate as you want.
As the white chocolate is setting start putting on your M&M decorations (allow the white chocolate to set slightly otherwise the M&Ms will slide down the tree). Place your set chocolate star on the top of the tree.
Wrap some tinsel around the base.
Enjoy!
Pin it: www.pinterest.com/pin/399413060677705453/


 RSS Feed