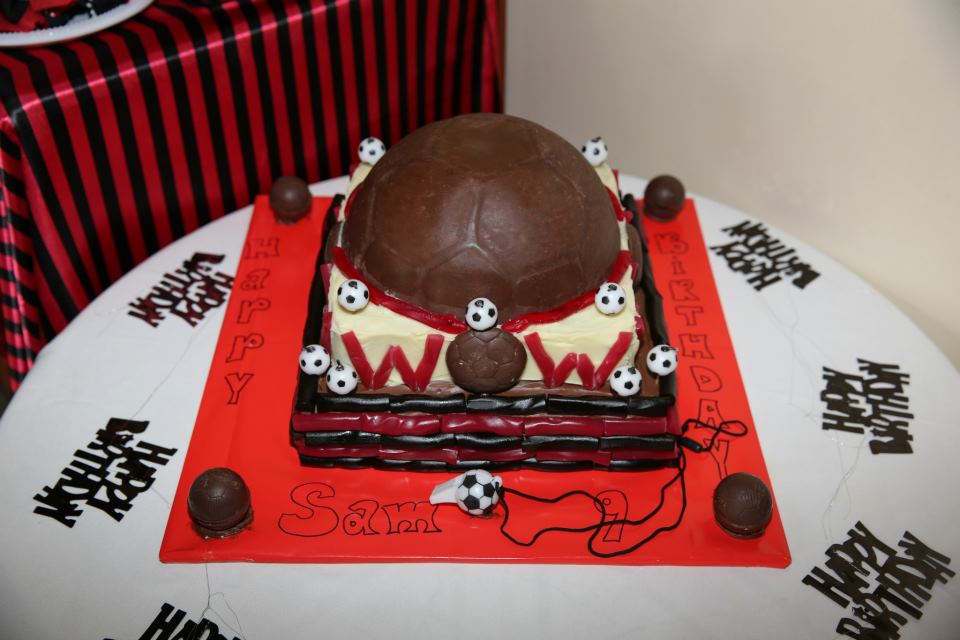
Piñata
No other cake brings such joy to a child as a Piñata cake does. The laughter you get from a child while they are smashing into the chocolate shell is priceless, and the laughter you get from a room full of adults and children who don't expect a piñata cake is very satisfying.
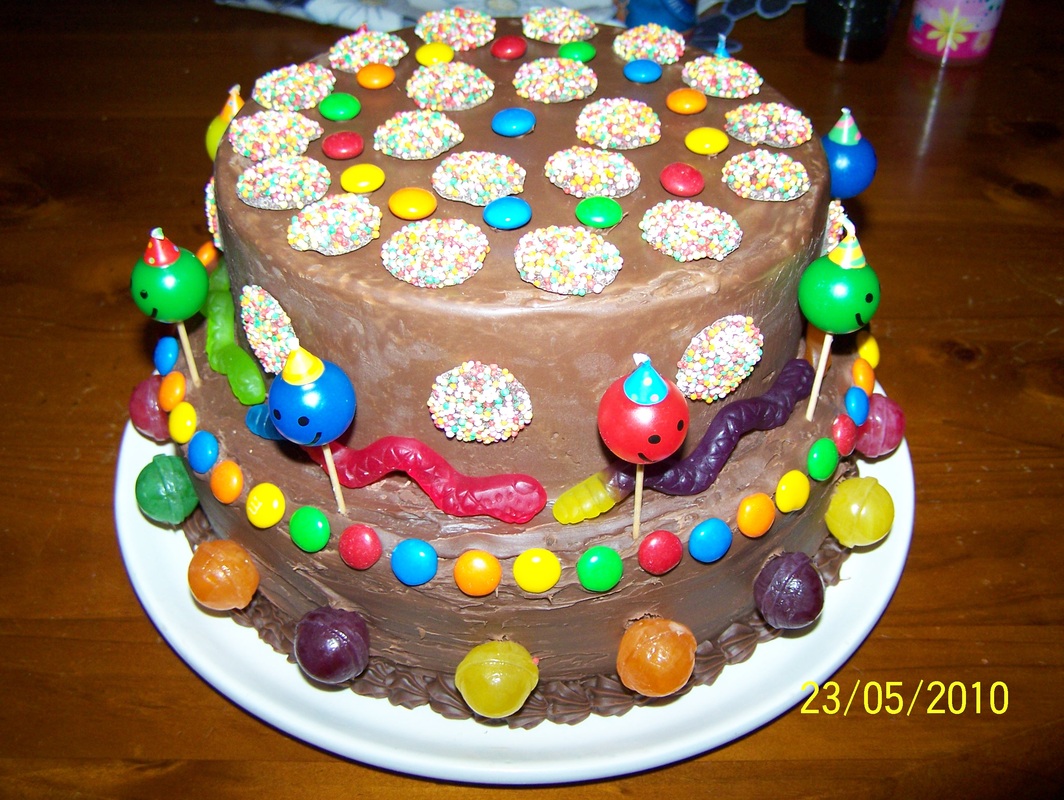
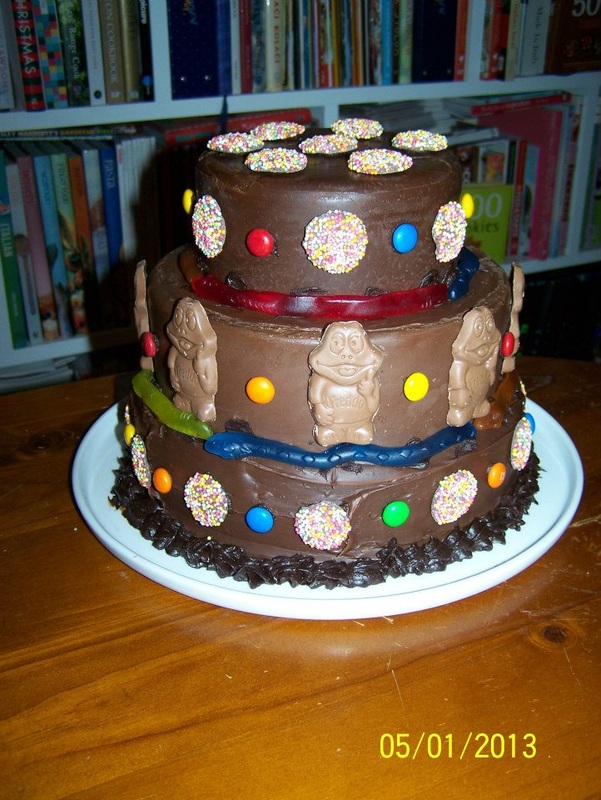
This cake is always a huge hit. Some people put a small cake under the chocolate shell, but I always find that cake too small. I prefer to put in loads of assorted lollies under the shell (it is a kids party after all) and either make cupcakes on the side or place the piñata on top of a dense cake, like a mud cake for instance. By adding a cake underneath, party guests actually get a piece of cake also.
This cake is supposed to be festive, so go crazy with your decorations, and for anyone health conscience, it is a once in a lifetime cake, so let the kids enjoy it. I love when I see kids hands grabbing at the lollies and chocolates, it is a fun cake, let the kids have fun I say.
This recipe is for the piñata shell making process only. The cakes and decorations are whatever you like. The cake just needs to be a dense cake, as you don't want a cake that falls apart during the smashing process.
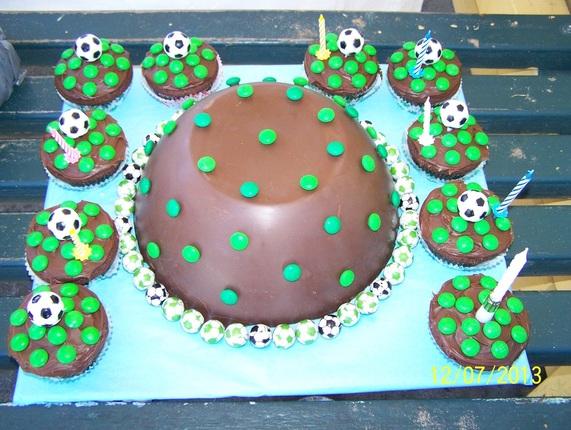
I find aluminium or stainless steel bowls or cake pans work best as you can put a warm wet tea towel to assist the piñata slide out of the pan, glass did not work for me, it was too thick, and the chocolate just kept melting. I have used stainless steel bowls (green spotted piñata) and I have used round aluminium cake pans, both worked a treat.
If your piñata cracks, you will have to re-melt the chocolate and start again. This only happened once for me, but as you can make the shell days in advance, don't panic it will work.
If you use a different pan, adjust the amount of chocolate as you may need more, buy an extra block of chocolate just in case it is needed.
I have used white and milk chocolate when making piñatas both work well.
Recipe
Recipe adapted from the Australian Women's Weekly Cookbook 'More Cakes for Kids'
Equipment:
2.25 litre metal pudding steamer
30cm prepared cake board or plate
Cake:
2 teaspoons vegetable oil
375g milk chocolate melts
300g assorted lollies, chocolate coins
Decorations:
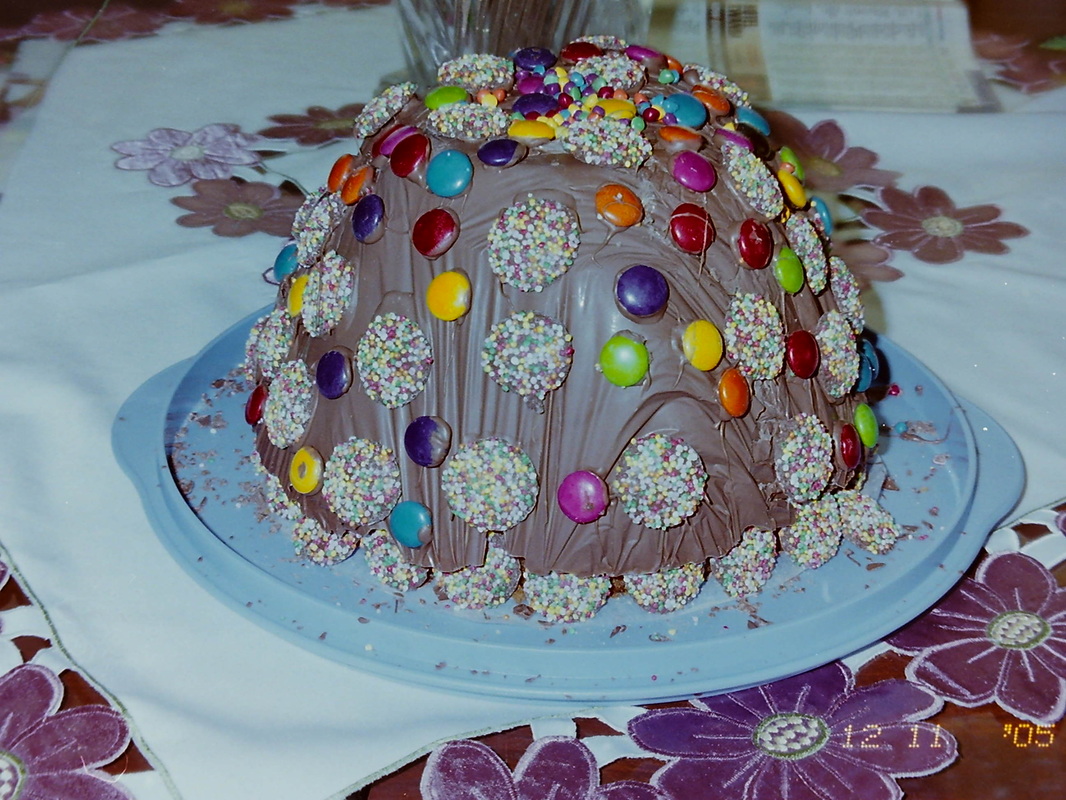
Smarties and freckles work well for outer shell, depends on the shape you choose, just make it colourful
Equipment:
2.25 litre metal pudding steamer
30cm prepared cake board or plate
Cake:
2 teaspoons vegetable oil
375g milk chocolate melts
300g assorted lollies, chocolate coins
Decorations:
Smarties and freckles work well for outer shell, depends on the shape you choose, just make it colourful
Make room in your freezer to fit the cake tin, so it sits flat on a shelf.
Using your fingers, rub the vegetable oil all around the inside of your tin, spread it out evenly.
Place the chocolate in a heatproof bowl, place the bowl over a pan of simmering water. Do not let the water touch the bowl. Stir the chocolate until it has melted and is smooth.
Pour the chocolate into your oiled bowl and swirl it around to spread the chocolate around evenly. Keep swirling until the chocolate begins to set and stops flowing (I like to tip out any excess chocolate back into the bowl you heated the chocolate in, to fill in gaps if they form). Freeze for 5 minutes, then take it out and pour some of the excess chocolate in any gaps that may have formed, and thicken up your edges, as they cannot have weak spots. Freeze for 10 minutes. Add more chocolate if needed, if all has set nicely, no gaps, thick edges, then freeze again for 10 minutes, or until it has set completely.
Pile your lollies and chocolate coins in the centre of your cake board. Carefully place the chocolate filled tin over the 'treasure'. The shell may release immediately, if it doesn't place a hot, damp, tea towel over the tin, rub outside of the tin briefly or until it does release, just don't melt the chocolate.
Decorate however you like, use any leftover chocolate to stick on smarties or freckles to the piñata shell.
ENJOY!
