Focaccia Loaf
I am on the baking bread band wagon, I just can't stop. It's been six weeks since I bought my last loaf of bread and I don't know that I'll ever buy one again.
Bread making is easy, I mean really easy. Once you find a few recipes that you like, you will be baking forever.
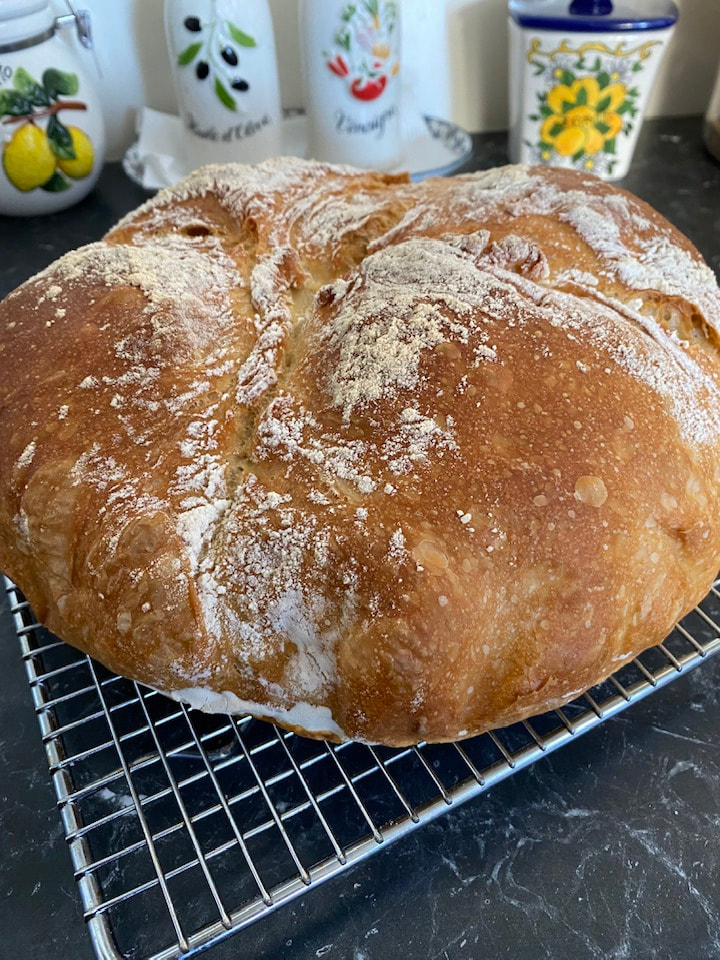
So this recipe is amazing, it's a focaccia mix, but made into a loaf.
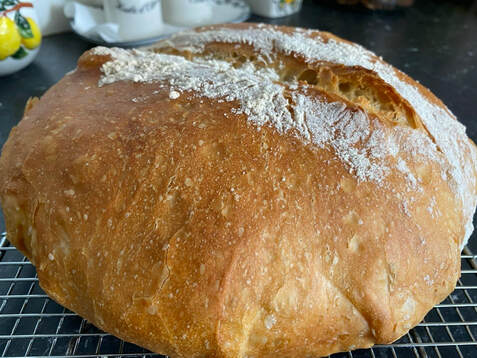
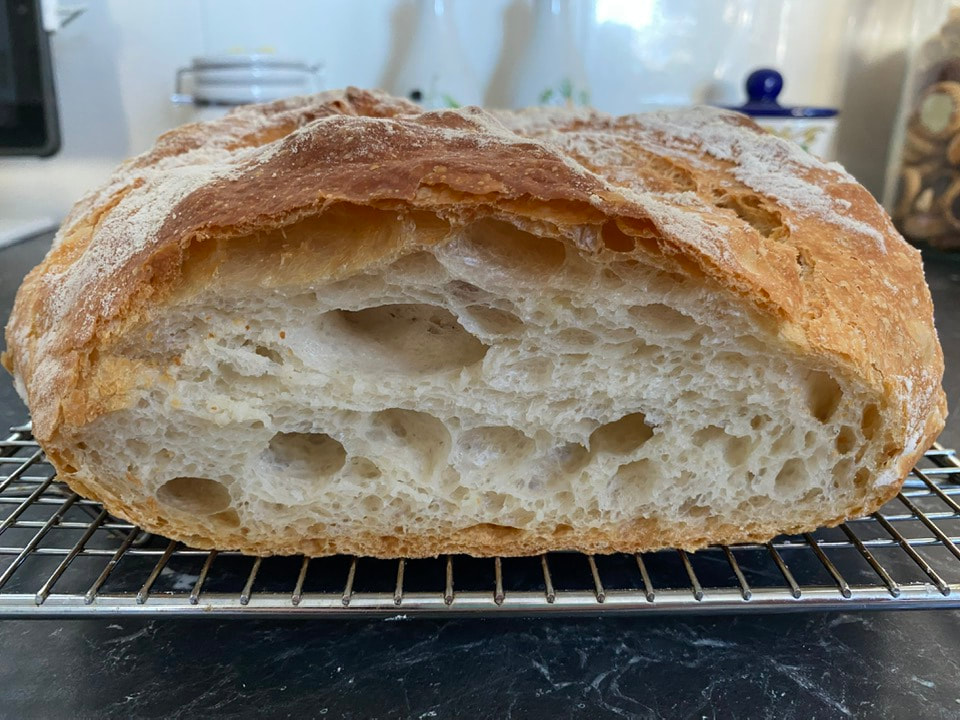
The bread comes out of the oven crisp, but softens as it cools.
This bread is still super soft the second day, but I toasted it just to see if I like it toasted and I loved it.
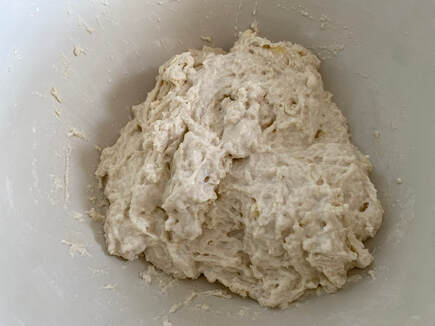
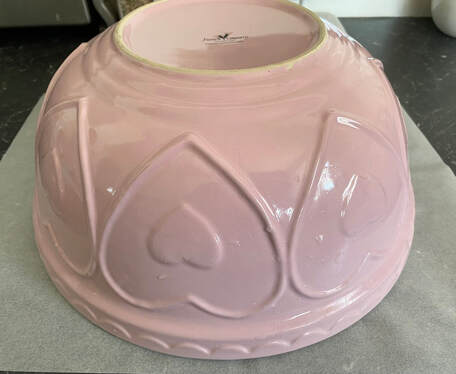
One thing with bread making, use a bowl like this to mix the dough. I like a wide rimmed bowl as it means when I do the lifts and folds, I can do it in the bowl, rather than tipping it on the bench. If I make an overnight bread which goes in the fridge, I use a narrower bowl, just so it fits in the fridge better.
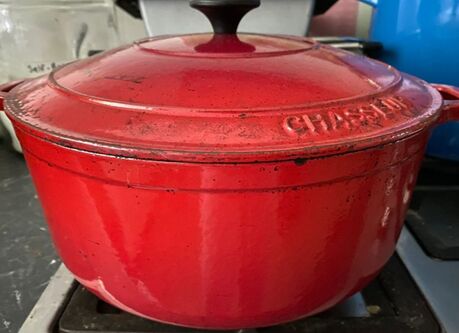
This bread is baked in a Dutch oven/cast iron pot. The pot is preheated and acts like an oven within an oven. There are affordable Dutch ovens around, it really is worth buying if you want to bake bread at home. But I also love making stews in them and putting them in the oven to cook, rather than cooking them on the stove top.
If you don't have a Dutch oven you can still bake this bread. Here's how
Preheat your oven to 220C/200C fan forced for about 30 minutes. Place a shallow baking tray on the lowest rack in your oven. Place the rack you will bake your bread on the next rack above the tray.
Either throw in 5-6 ice cubes in the baking tray you have in the oven on the lower rack or pour in a cup of water. This will create steam in your oven. Place your bread in the preheated oven for 30 minutes, then then turn down the heat to 210C/190C and bake a further 10-15 minutes until golden and sounds hollow when tapped on the bottom.
This is an amazing recipe, definitely worth making today.
Recipe
Recipe adapted from Instagram _lacebakes_
Makes 1 loaf
For the dough:
390g warm water
5g honey
15g extra virgin olive oil
6g instant yeast
500g white bread flour
10g fine sea salt
Makes 1 loaf
For the dough:
390g warm water
5g honey
15g extra virgin olive oil
6g instant yeast
500g white bread flour
10g fine sea salt
In a large mixing bowl add the water, yeast, honey and extra virgin olive oil. Mix together with a wooden spoon.
Add in the flour and salt and mix together until you have no dry patches. Sometimes I find using a damp hand, I give the bread 5-6 kneads, just to incorporate the flour better. The dough does not stick to a wet hand.
Add in the flour and salt and mix together until you have no dry patches. Sometimes I find using a damp hand, I give the bread 5-6 kneads, just to incorporate the flour better. The dough does not stick to a wet hand.
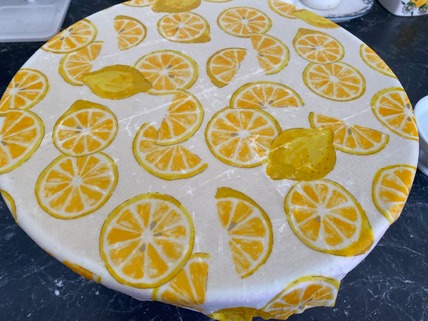
Cover the bowl with beeswax wraps or plastic wrap and let it rest for 15 minutes at room temperature.
Now it's time to stretch and fold the dough.
Release the dough from the side of the bowl, using a damp hand. This will deflate it.
Perform a set of stretch and folds on the dough. To do this, wet your hand, then take a section of the dough furthest from you and stretch it up and fold it onto itself towards you. Rotate the bowl 90° and repeat the process. You need to do a total of 8 stretch and folds. You will get the dough roughly shaped like a ball.
Cover the bowl again and leave to rest for 15 minutes.
After 15 minutes repeat the stretch and folds one more time.
Cover the bowl and let the dough rest for 1.5 hours at room temperature.
Once the dough has finished proofing, place your Dutch oven (including the lid) in your oven and preheat your oven at 255C/235C fan forced.
After 15 minutes repeat the stretch and folds one more time.
Cover the bowl and let the dough rest for 1.5 hours at room temperature.
Once the dough has finished proofing, place your Dutch oven (including the lid) in your oven and preheat your oven at 255C/235C fan forced.
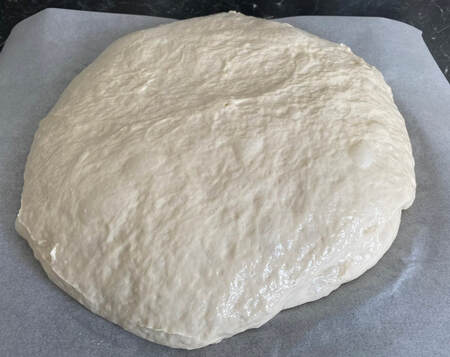
Now it's time to shape your loaf. The dough will be sticky, I like to use damp hands here. Place the bowl in front of you, think of the bowl like a clock, now using both hands lift the dough at the 12 o'clock position and pull it over 2/3 of the way down towards the 6 o'clock position. Now dampen hands with water and lift the dough from the 6 o'clock position and pull it over the dough you just pulled down towards the 12 o'clock position. Now rotate the bowl so that what was the 9 o'clock position becomes the 12 o'clock position. Repeat the pulling and folding (using damp hands) process again. The dough should now have tightened into a more ball like shape.
Now flip the dough gently out of the bowl onto your bench (set the bowl aside, you still need it). If the dough is really sticky, you can add a light dusting of flour on your bench first. The smooth side of the dough should now be on top. Now I use damp hands again, you can use floured hands, cup your hands around the dough and slowly start pulling it around and down to form a circular shape. The dough will tighten up and will look smoother around the edges. Continue until the ball feels slightly taut. This step comes with practice.
Cut out a piece of baking paper, longer than your ball width, by about 12-14cm, you need the extra length to use as handles to pick up the dough when you need to put it in your hot pot.
Gently place the dough ball in the centre of the baking paper.
Flip your mixing bowl and place it over the top of the dough to cover and let it rest for 30 minutes.
After 30 minutes remove the mixing bowl, it's time to score the bread. Using a serrated knife, the dough is a wet dough, so it is sticky, with a quick and confident decisive swipe, make a cut in the dough from top to bottom. You can dust a line of flour on the dough where you intend to cut it, to help the knife not stick to the dough.
Remove the pot from the oven using oven gloves, it will be crazy hot, remove the lid. Carefully lift the dough using the baking paper and lower the bread into the pot. Place the lid back on and return the pot to the oven and bake the bread for 40-45 minutes.
After 40 minutes, lift the lid and check the colour of the bread, it needs to be deep golden brown when it has finished baking and it should sound hollow when you tap the bottom of it. Replace the lid if you think it needs a little more baking.
Remove the bread from the pot and place on a cooling rack.
You need to wait at least 30 minutes before cutting into your bread.
Enjoy!
