Mira's Jam Biscuits
During my childhood I have had these biscuits so many times at parties or weddings growing up. My mother never really made them, so it was only at celebrations like birthdays or Christmas that I would have them.
Now I recently started trying to make traditional Croatian type sweets. As I was actually born in Australia, I want my kids to experience the Croatian food culture as much as they can, even though we don't live there. We've been to Croatia many times, so this is just another way to keep the Croatian tradition going.
This recipes a funny one, I grew up knowing them as kiflići, but recently I was told in Croatian they are called kiflici or roščići, Croatia is such a small country, but it has so many dialects and it seems so many ways to call a biscuit. So I say call them what you want, whatever you grew up knowing them as, the most important thing is to make these biscuits, as they are delicious.
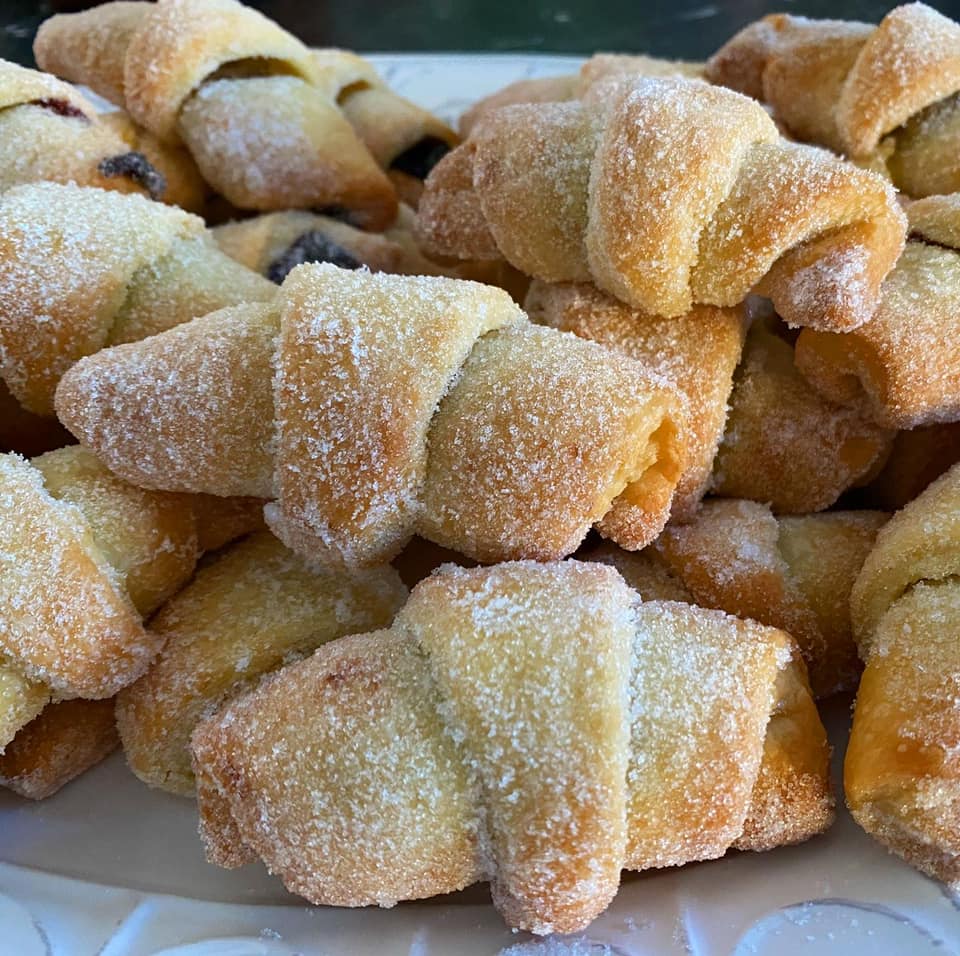
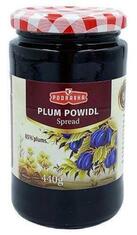
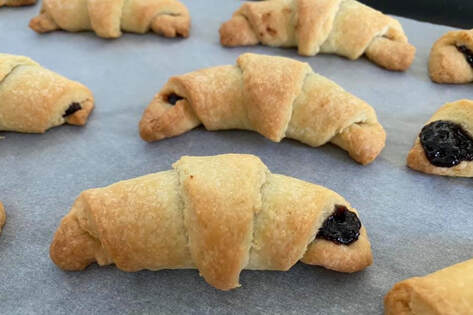
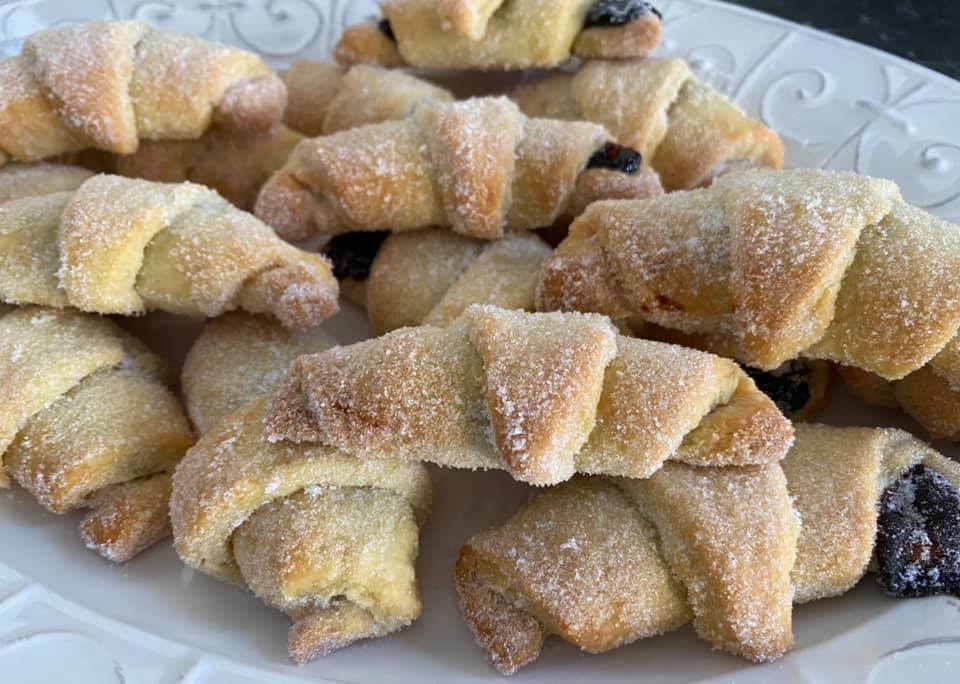
These are so easy to make, really easy actually. I mean they take a little practice, but by no means is this hard to make. The dough is easy to make, it has no sugar in it, as you fill them with jam, which is sweet, then you roll them in sugar after they are bake, so you don't need sugar in the dough. The dough is delicious, it's light and flaky and just yum. The filling I make half with a Croatian plum jam and half with nutella. Both fillings are delicious. It is important that your jam is thick, runny jams will not work here. So I recommend finding this jam if you can. You could use other flavours of jam, I guess, I tend to stick to plum.
These biscuits keep well in an airtight container. Though they don't last long in my house.
These are also great as they don't take long to make, about an hour and you're done really. So if you feel like trying something new. These biscuits are something you definitely need to try.
Recipe
Recipe adapted from Croatian Cookbook 'A Walk Through Croatia' by Dennis Valcich
Makes about 24 biscuits
250g unsalted butter, softened
300ml thickened cream
400g plain flour
1 1/2 teaspoons baking powder
Plum Jam or Nutella, to fill
Caster Sugar, for coating
Makes about 24 biscuits
250g unsalted butter, softened
300ml thickened cream
400g plain flour
1 1/2 teaspoons baking powder
Plum Jam or Nutella, to fill
Caster Sugar, for coating
Place butter and thick cream in a large bowl. Using electric beaters quickly beat until mixed, the butter will be lumpy still that's okay, I just do this to start the mixing process. Add the baking powder and slowly start adding in the flour, at this stage mix with a spoon, until all the flour has been added and you have a dough.
Tip the dough out onto your kitchen bench and knead for about 5-6 minutes. this is where your butter will become lump free. If the dough is too sticky, add a little flour, but only if needed.
Preheat oven to 200C/180C fan forced. Line a baking tray with baking paper.
Divide the dough into four even pieces. Now I like to roll the dough between two sheets of baking paper. So with your first dough ball, place the dough between the two sheets of baking paper, and roll out to a large thin circle. While rolling the dough, I flip the dough over a few times and remove both pieces of the baking paper with each flip, then put them back on immediately as by doing this I find the dough rolls out better, the dough doesn't stick to the paper. Once your dough is thin, remove the top side of the baking paper, put it back on, flip do the same with the baking paper. This will ensure your dough isn't stuck to the baking paper.
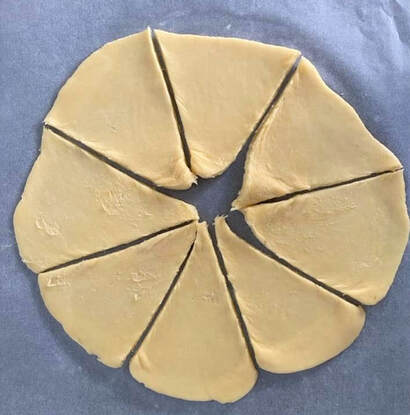
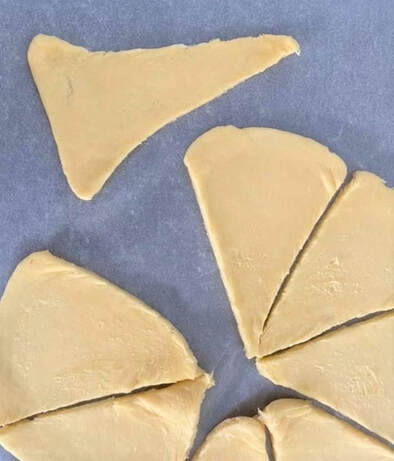
Take a pizza cutter or a sharp knife (pizza cutter works better, my knife dragged the dough a little, but it isn't a big deal, as you can easily fix that) and cut the circle into 8 even sized triangles.
Take one triangle and gently stretch it to about 15cm long, and stretch it width ways to, just be gentle. You want the dough to be thin. If you managed to roll it to that size, no need to stretch the dough.
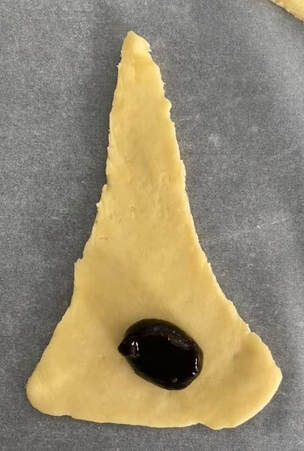
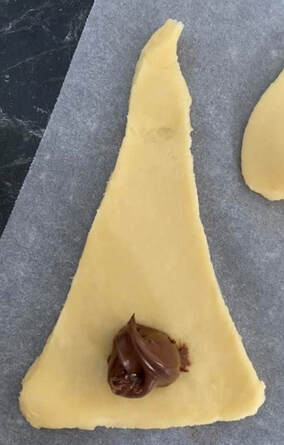
Place one teaspoon of your chosen filling at the wide edge of the triangles.
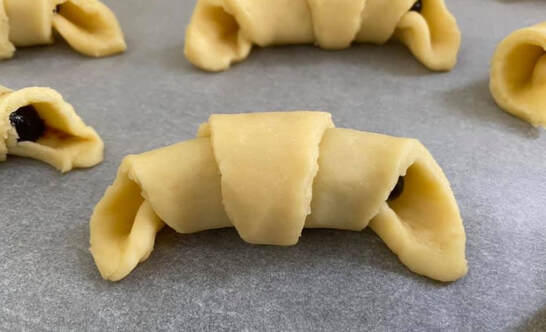
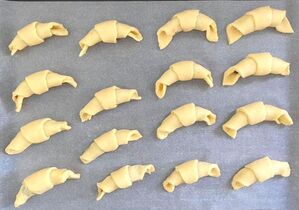
Roll up from the wide end, enclosing the filling, bend the edges in a little to form a u shape. Place on your prepared baking tray.
Bake for about 18-20 minutes until golden and cooked through.
While still warm, roll them in caster sugar, to coat.
Enjoy!
