My Friday Bread
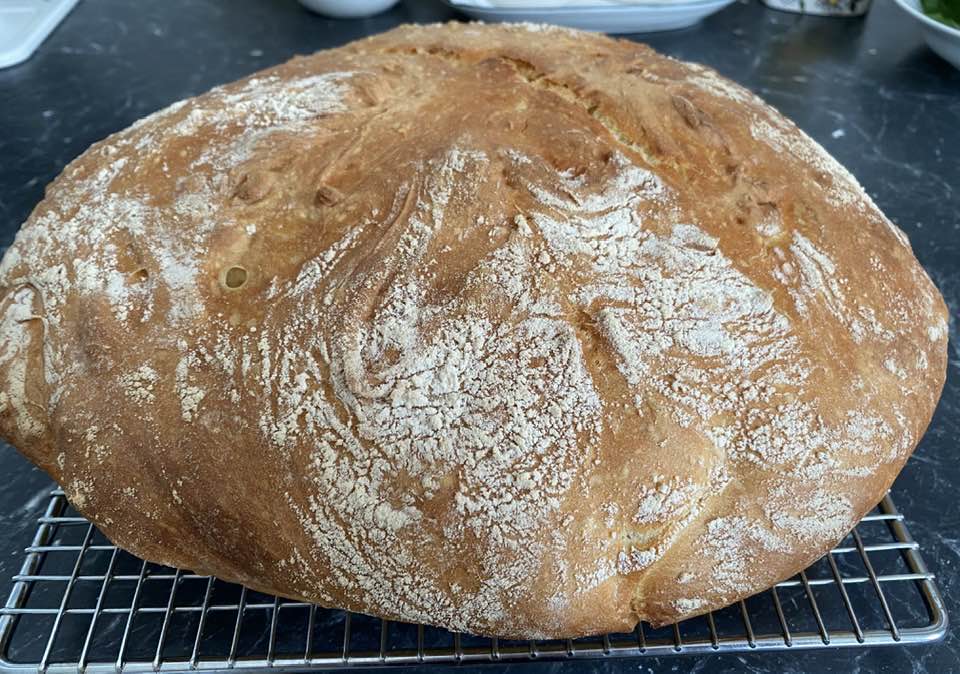
Why did I call this my Friday bread, simply because I like to make it on Fridays. So why do I only make it on Fridays, because this loaf is so big it ensures I will have bread in the house over the weekend without needing to go to the shops.
I have a few no knead breads on my blog, but this one is different in that I don't make it in a Dutch oven. All my other no knead breads can be made this way to, but this one especially can't be made in a Dutch oven, as it is too large a mix for a Dutch oven.
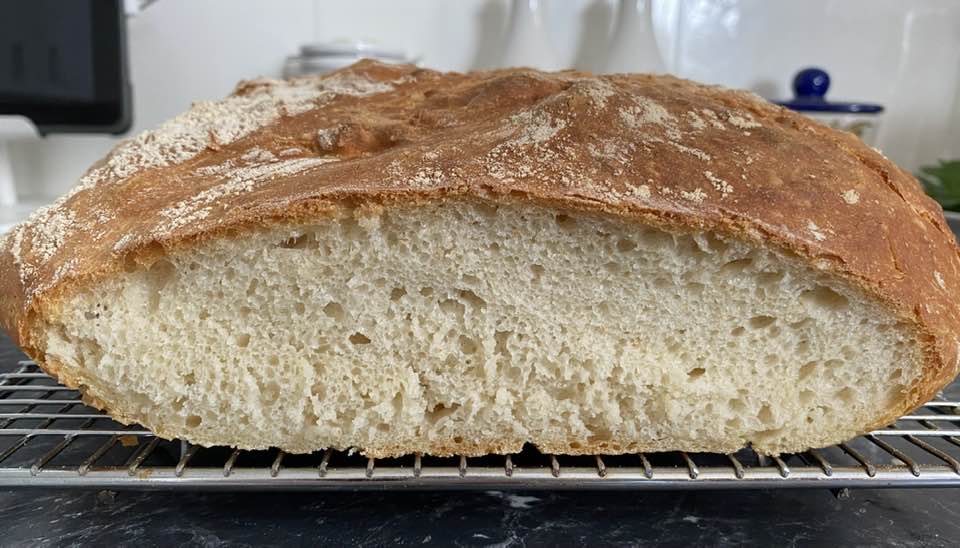
Now this one I also wanted to add as it is made with plain flour, not bread flour. It is more accessible to buy for many. But if you like, use bread flour, I do sometimes and it works perfectly.
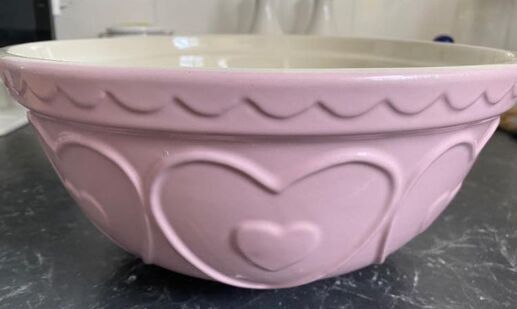
If you like you can make it in a freestanding mixer, it is just not necessary. You just need a large bowl, preferably wide rimmed, as it makes working with the dough easier.
Years ago I attempted this bread and thought it was okay, but it could be better. Now I used the same recipe, but as I have gained more experience in bread making (I have only been baking bread for 3 weeks now) I combined a few things from other recipes and now we absolutely love this bread.
The crust is super crunchy as it comes out of the oven, but it will soften over time, and that's fine as it really is great bread. The softer crust makes for easier eating for smaller kids and makes it great as lunchbox bread.
If you want to use cup measures, use a 250ml cup measure and it's
6 1/4 cups plain flour
3 cups water
This is delicious toasted, or used in a sandwich press.
No knead breads are a great way to start baking bread. Once you start, you just don't go back to store bought.
This recipe is easy and needs to be made by you.
Recipe
8g instant dry yeast, 1 satchet
935g plain flour
2 teaspoons sea salt or cooking salt
742g warm water
935g plain flour
2 teaspoons sea salt or cooking salt
742g warm water
In a large mixing bowl add the yeast, flour and salt, mix to combine. Pour in the warm water, using a wooden spoon mix to combine until there is no more dry flour. It will be sticky, sometimes I find using a damp hand, I give the bread 5-6 kneads, just to incorporate the flour better. The dough does not stick to a wet hand. Only do this if you want to. leave the dough to rest for 15 minutes.
Cover the bowl with beeswax wraps or plastic wrap and let it rest for 15 minutes at room temperature.
Now it's time to stretch and fold the dough. This step just ensures your flour is well mixed into the dough, and makes for light bread.
Release the dough from the side of the bowl, using a damp hand. This will deflate it.
Perform a set of stretch and folds on the dough. To do this, wet your hand, then take a section of the dough furthest from you and stretch it up and fold it onto itself towards you. Rotate the bowl 90° and repeat the process. You need to do a total of 8 stretch and folds. You will get the dough roughly shaped like a ball.
Cover the bowl and let the dough rest for 2.5-3 hours at room temperature.
Preheat your oven to 230C/210C fan forced for about 45 minutes. Place a shallow baking tray on the lowest rack in your oven. Place the rack you will bake your bread on in the centre of your oven.
Now it's time to shape your loaf. Do not knead your dough now. The dough will be sticky, I like to use damp hands here. Place the bowl in front of you, think of the bowl like a clock, now using both hands lift the dough at the 12 o'clock position and pull it over 2/3 of the way down towards the 6 o'clock position. Now dampen hands with water and lift the dough from the 6 o'clock position and pull it over the dough you just pulled down towards the 12 o'clock position. Now rotate the bowl so that what was the 9 o'clock position becomes the 12 o'clock position. Repeat the pulling and folding (using damp hands) process again. The dough should now have tightened into a more ball like shape.
Now cut a piece of baking paper larger than your dough by at least 5-7cm. Place on a large baking tray, preferably one that has no rim. Sprinkle the baking paper lightly with flour.
Now flip the dough gently out of the bowl onto your baking paper (set the bowl aside, you still need it). The smooth side of the dough should now be on top. Now if you want to shape it some more, I use damp hands again, you can use floured hands, cup your hands around the dough and slowly start pulling it around and down to form a circular shape. This is optional.
Now flip your mixing bowl and place it over the top of the dough to cover and let it rest for 30 minutes.
After 30 minutes remove the mixing bowl, it's time to score the bread. Dust the top of the bread with flour. Using a serrated knife, the dough is a wet dough, so it is sticky, with a quick and confident decisive swipe, make a cut in the dough from top to bottom.
Either throw in 10 ice cubes in the baking tray you have in the oven on the lower rack or pour in a cup of water. This will create steam in your oven which will create the crunchy crust.
Place your bread in the preheated oven for about 45 minutes or until browned to your liking, but more importantly it needs to sound hollow when you tap the bottom of it.
Leave for 30 minutes on a cooling rack before you cut the bread as it continues cooking as it rests.
Enjoy!


