Easy Crusty No Knead Bread
There is nothing like the smell of freshly baked bread, it's amazing.
One thing I hate, is having to go to the shops just to buy bread. Because of this, I am always on the lookout for bread recipes that I can make, I find it easier (and cheaper) than shopping.
This recipe is really good. The dough comes together in a few minutes. You allow 2 hours for rising time and you have freshly baked bread an hour later.
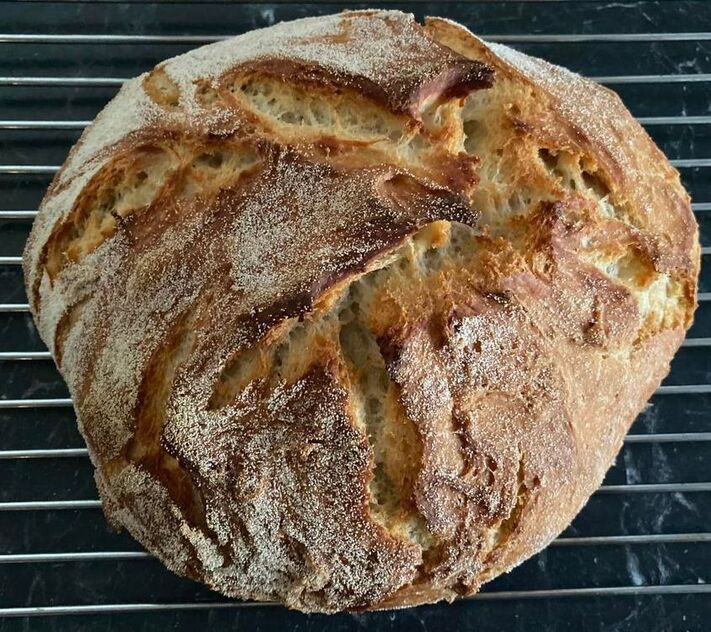
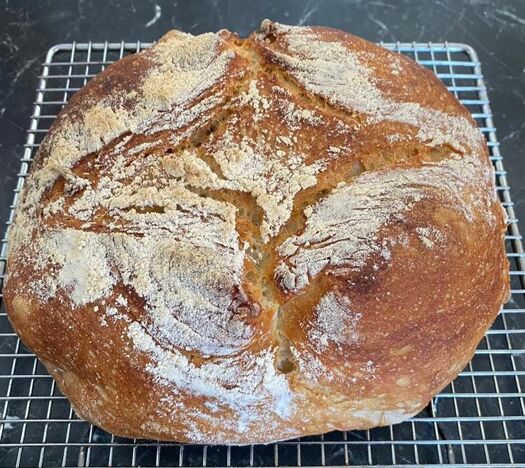
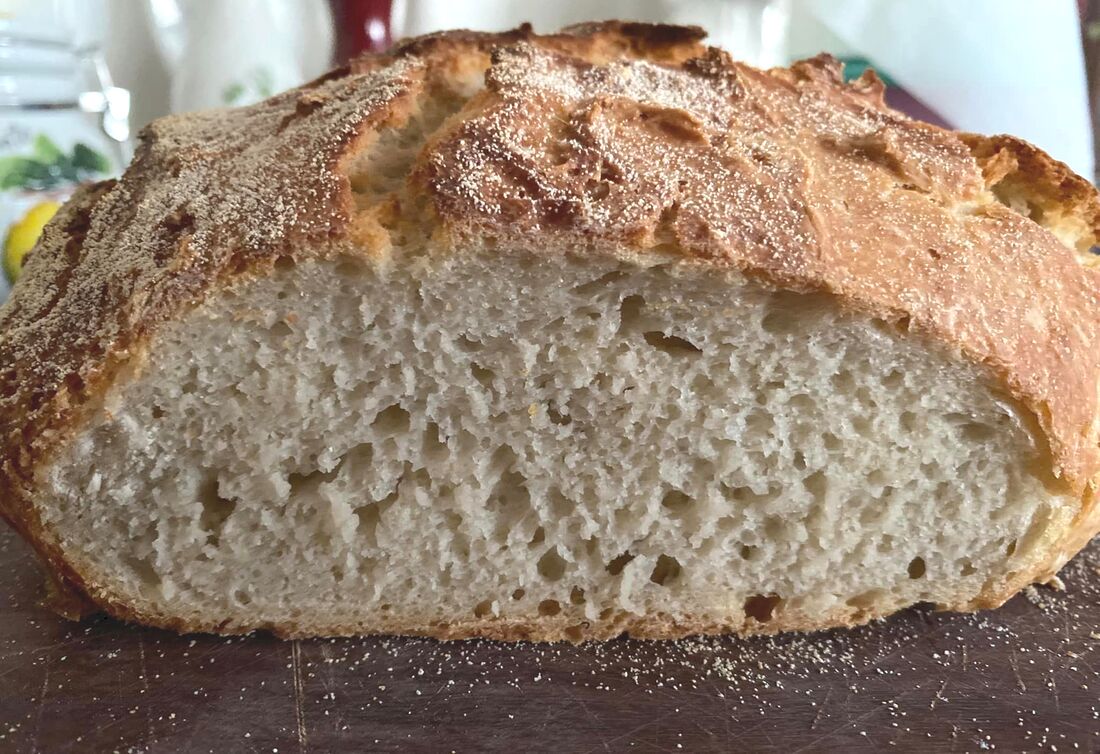
The crust is so crunchy, and the centre is perfectly chewy. Honestly once we crack this open, we can't stop eating it, hot bread and butter, it's so good.
Next day, the crust softens, but I love it toasted, it really is great.
If you don't have bread flour, you can use plain flour.
If the weather is hot, the dough may rise faster, if it's cold it may take longer. On cold days I turn on my dryer (empty) for a few minutes to heat up, then turn it off and put the covered bowl with the dough in it, inside the dryer, it works perfectly.
If you don't have a cast iron pot, bake your bread on an oven tray and place a 20cm square baking dish filled with boiling water on the shelf directly underneath the bread. It will create steam in the oven and give a nice crust.
Flour behaves differently on different days. Sometimes this dough is very sticky, some days, it's not too sticky. But what you don't want to do is add too much flour as less flour = wetter dough = bigger air pockets = fluffier bread.
Once dough has risen, you can bake it immediately or, for better flavour, let it rise for 2 hours then refrigerate for a minimum of 8 hours, up to 3 days. You can even mix it together in the evening, then bake it fresh in the morning for breakfast.
Don't focus on the shape too much, it will be a rough circle, but what I love, rough edges create crunchy bits on the bread.
Don't cut bread straight out of the oven, leave it for 20 minutes as it keeps cooking while cooling.
This is an easy recipe, perfect for beginners or anyone that loves homemade bread.
Recipe
Recipe adapted from Nagi Maehashi's cookbook 'Dinner' or www.recipetineats.com/
Makes 1 loaf
450g bread flour, you can use plain flour
2 teaspoons instant or rapid rise yeast
2 teaspoons cooking salt, not table salt
1½ cups (375 ml) very warm tap water, not boiling
2 tablespoons Bread flour or Semolina flour, for dusting
Makes 1 loaf
450g bread flour, you can use plain flour
2 teaspoons instant or rapid rise yeast
2 teaspoons cooking salt, not table salt
1½ cups (375 ml) very warm tap water, not boiling
2 tablespoons Bread flour or Semolina flour, for dusting
Mix flour, yeast and salt in a large bowl. Add water, then use the handle of a wooden spoon to mix until all the flour is incorporated. Dough will be wet and sloppy – not kneadable, but not runny like cake batter. Adjust with more water or flour if needed for right consistency.
Cover with cling film, leave on counter for 2–3 hours until it doubles in volume, it’s wobbly like jelly and the top is bubbly. If after 1 hour it doesn’t seem to be rising, move it somewhere warmer.
At this stage you can either bake it immediately or refrigerate for up to 3 days. If you refrigerated the dough, leave the bowl on the counter for 45-60 minutes while your oven and pot are preheating. Cold dough does not rise well.
At this stage you can either bake it immediately or refrigerate for up to 3 days. If you refrigerated the dough, leave the bowl on the counter for 45-60 minutes while your oven and pot are preheating. Cold dough does not rise well.
Put Dutch oven in oven with lid on (26cm or larger). Preheat to 230°C/220°C fan forced 40 minutes prior to baking.
Now it's time to shape your loaf. The dough will be sticky, I like to use damp hands here. Place the bowl in front of you, think of the bowl like a clock, now using both hands lift the dough at the 12 o'clock position and pull it over 2/3 of the way down towards the 6 o'clock position. Now dampen hands with water and lift the dough from the 6 o'clock position and pull it over the dough you just pulled down towards the 12 o'clock position. Now rotate the bowl so that what was the 9 o'clock position becomes the 12 o'clock position. Repeat the pulling and folding (using damp hands) process again. The dough should now have tightened into a more ball like shape.
Cut out a piece of baking paper, longer than your ball width, by about 12-14cm, you need the extra length to use as handles to pick up the dough when you need to put it in your hot pot. Dust the centre of the baking paper with fine semolina or flour.
Now flip the dough gently out of the bowl onto the centre of your baking paper. The smooth side of the dough should now be on top. Now I use damp hands again, you can use floured hands, reshape the dough, if needed, into a roundish shape. Don't stress if not perfect. Flip your mixing bowl and place it over the top of the dough to cover and let it rest for 30 minutes.
After 30 minutes remove the mixing bowl, it's time to score the bread. Using a serrated knife, the dough is a wet dough, so it is sticky, with a quick and confident decisive swipe, make a cut in the dough from top to bottom.
Remove hot Dutch oven from oven. Use baking paper to place dough into pot, place lid on. Bake for 34 minutes covered, then 20 minutes uncovered or until deep golden and crispy.
Cool on rack for 20 minutes before slicing.
Enjoy!


