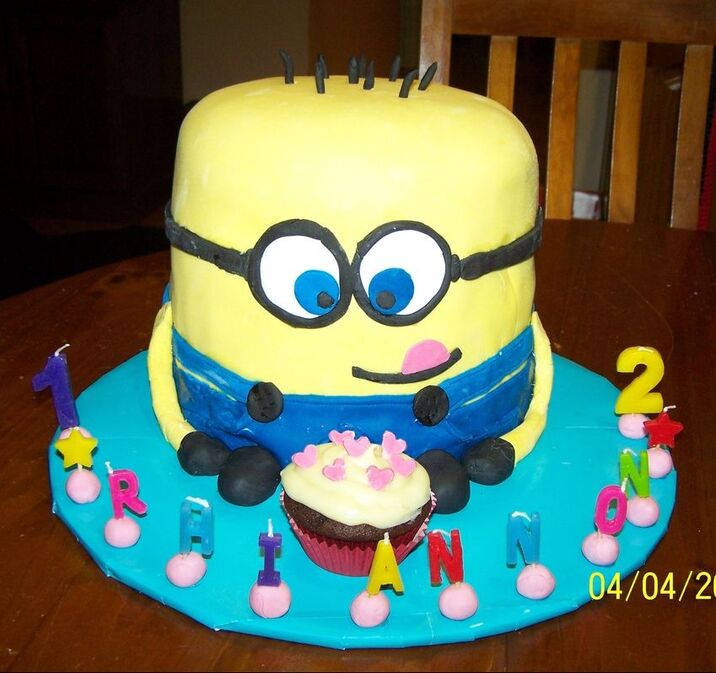
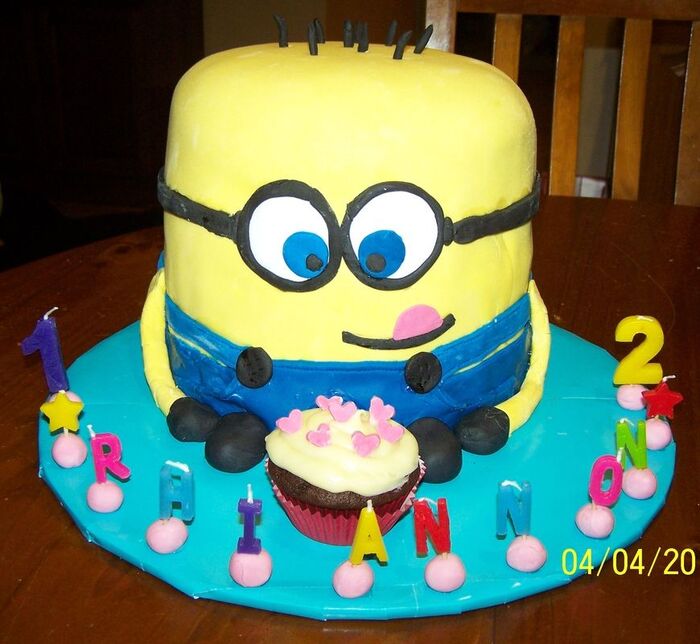
I took on this challenge, and can I tell you although I am proud of the final result, this cake took me 17 hours from start to completion, thank goodness not all in one day.
I don't work with fondant, this is probably my second or third go at it, so when I went to my favourite cake decorating place for supplies, the sales assistant laughed at me when I showed her what I was going to attempt, especially since I hadn't really worked with fondant before.
Anyway after watching the Spanish tutorial repeatedly, I started the cake (there was no recipe) I used the video and picture as a guide.
To 'glue' the fondant pieces on, I used glucose syrup, which I would not do next time. It was so hot and humid when I was making the cake, that the pieces were sliding about. I had to put pins under the minions eyes to keep them in place until it finally set. I would use a little water next time.
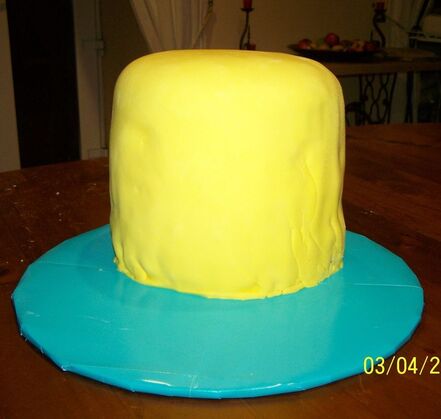
The hardest part for me was covering the cakes in the yellow fondant, it is a big cake to cover. But as you add blue clothing to the minion, some of your errors can get covered up.
Cover the cake board in fondant or gift wrap, whatever you prefer.
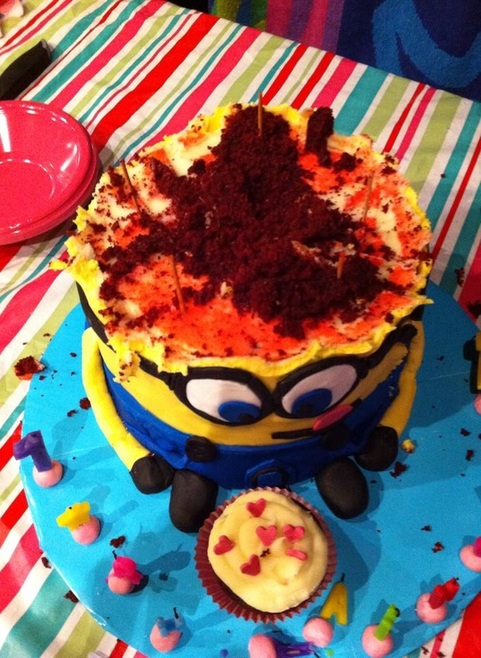
All cake recipes can be found in my desserts sections on this website. You can use whatever mud cakes you like. I chose red velvet on the top as that was the birthday girls request.
I buy the already coloured fondants, but it is cheaper to mix your own colour. Also a tip I got from my cake decorating place, if you buy the yellow fondant, add 1/3 as much white fondant to the yellow when kneading, it won't change the intensity of the yellow, but it makes the fondant better to work with.
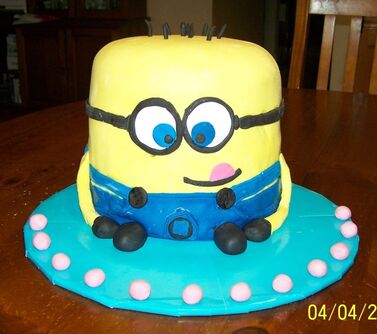
Was the cake perfect in the end, no, but it was pretty impressive none the less. The birthday girl loved it, her friends loved it and I have to admit I loved it to. Now after months of getting over the minion, my 7 year old just said he wants a minion cake to. There is still time, I'm hoping he will change his mind.
Recipe
20cm round cake tin
30cm prepared cake Board
Candles
Heart shape fondant cutter
Five skewers
Cake:
1 x white chocolate mud cake
1 x triple choc marble mud cake
1 x chocolate mud cake
1 x red velvet cake
4 x white chocolate ganache (see White Chocolate Mud Cake for recipe)
1 large cupcake (see Chocolate Cupcakes with a White Chocolate Ganache recipe)
Decorations:
Yellow fondant
Blue fondant
Black Fondant
White fondant
Pink fondant
Bake the cakes. I bake the mud cakes up to 5 days before needed. Bake the red velvet cake 2 days before needed. Cover cakes until needed.
Make white chocolate ganache a day before needed, following the recipe. Once it has reached a spreadable consistency, do not refrigerate it anymore. Ganache will last outside of the refrigerator for as long as the use by date of the cream (unless left out in extreme heat). So when making ganache always buy cream that has a long use by date.
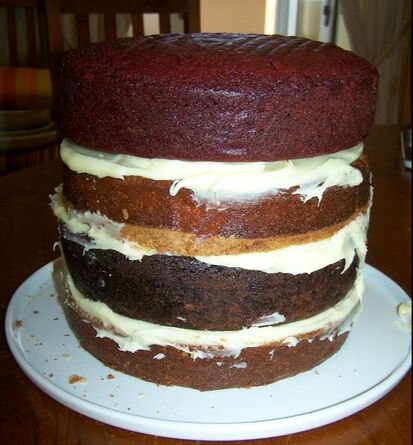
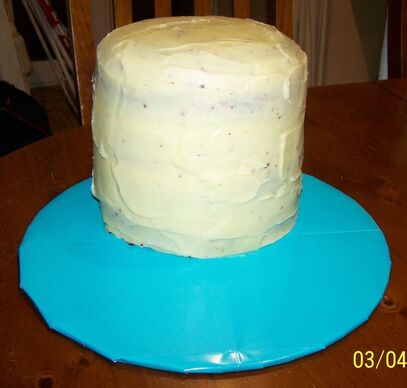
Level the cakes. Sandwich the cakes together with some of the ganache.
Place 4 or 5 cake skewers around the cake, so that they stay in place and don't slide about. (You will see where I placed them in the photo below of the sliced cake).
Start with the pants. Knead blue fondant with some white (see notes above). Roll out.
You need to cut a band about 4-5cm wide, that is long enough to wrap around the whole base of the cake. Slightly moisten with water the underside of the band and wrap it onto the cake, pressing gently to stick it on the cake.
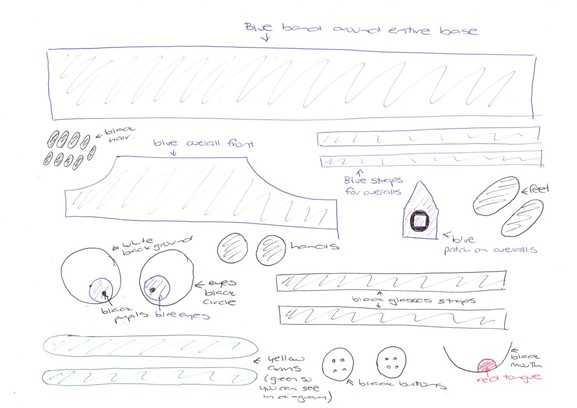
Now cut out the overalls. In the rough diagram below I have given the basic shapes that need to be cut out.
Cut out the overall fronts, they need to be about 6-7cm high in the centre, make the side bits even, the sides need to wrap to only as far as the minions arms sit on the side.
Cut out the overall straps about 2cm wide, they need to wrap all the way to meet at the back.
Also blue, cut out the blue from the eyes, the patch pentagon shape that will go on the overalls and the blue square that goes on the patch.
Now to put the overalls on, first stick on the overall fronts, moisten the underside with a little water, position in place, allow a little sag that look like pockets.
Position on the blue overall straps all the way around the back.
Now using a dinner fork go around the edge of the band, overalls and straps, press straight lines, using the fork all around the edge to make it look like stitching.
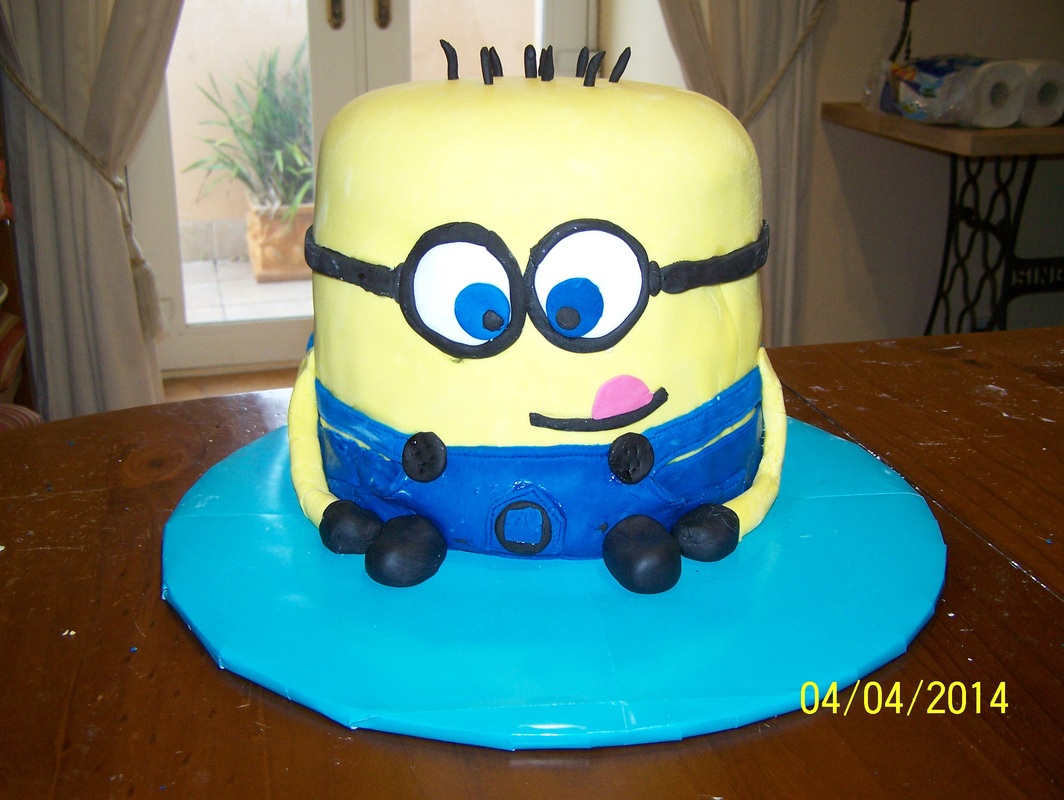
Now with any leftover yellow fondant, make the arms. You just need to make two long sausage shapes that go from the side to front, see photo below as a guide. Flatten one end slightly and slightly dampen with water and position it on the minions side.
White Fondant: make two circles for eyes about 5cm in diameter, use round cookie cutters or a glass to cut out the rounds.
Now for the black fondant: You need to mix the black fondant with a bit of white fondant, like you did with the yellow and blue. Once smooth and pliable make the minions feet and hands, position them on the minion, dampen connecting parts with a little water.
Make two buttons, about 2cm in diameter, press four holes into each button to look like button holes.
Make the black circle that will go on the patch on the overalls, the diameter of the circle will depend on the size you made patch. Stick the black circle on the patch with a little water, then stick the blue square on the black circle, allow to dry. Press the outside edge of the patch with the fork to look like stitching.
Make the rim of the glasses, to cover the edge of the white circle for the minions eyes. Stick the rim onto the white of the eyes with a little water. Allow to dry.
Position the blue of the eyes on the white also. Make two black eye balls and position on the blue. Allow to dry.
Dampen the underside of the white eye circles with a little water and position them on the minion.
Make the glasses straps, they need to meet at the back of the minion. Make two small 'clip' like pieces that sit right next to the rim of the glasses.
Position the clip bits next to the rim with a little water, then position the straps to the clip and wrap around the minion, meeting at the back.
Make the minions hair, allow to dry a little.
Then using a skewer poke holes where you want the hair to go, and gently push the hair in.
Once dry position the patch on the overalls.
Make the minions mouth out of black fondant, stick on with a little water.
Make the tongue out of pink fondant. Stick on with a little water.
Note: Whilst drying you can use sewing pins (the ones with the coloured heads that are easily visible) to keep parts in position, just make sure you remove them all once everything has set.
Make any large cupcake the party person loves, decorate with icing and sprinkles.
Position in front of the minion, place a little ganache under the cupcake to keep it from moving about.
Enjoy!
Pin it: www.pinterest.com/pin/399413060676921966/
 RSS Feed