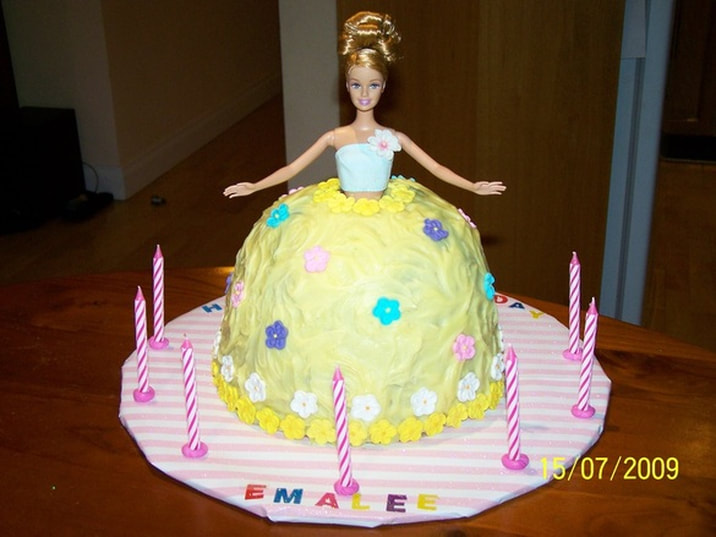
Although I started with the ice cream version, I moved on to the cake version when I had a party at a play centre for Emalee and needed to have a cake that was easy to transport.
I love the faces on the little girls I made Barbie cakes for (and I have made many).
It is far simpler than it looks, and you can start 1 week in advanced so it is not overwhelming.
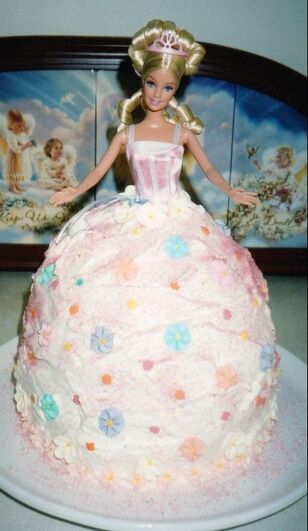
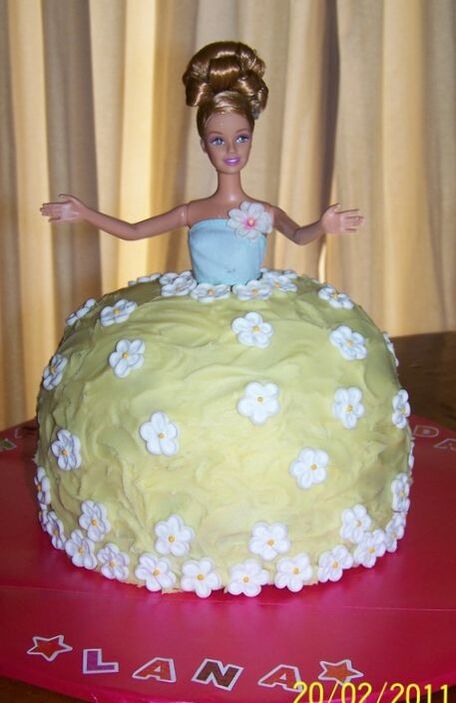
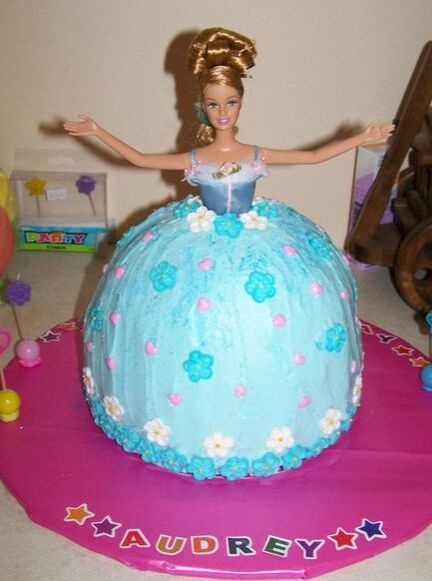
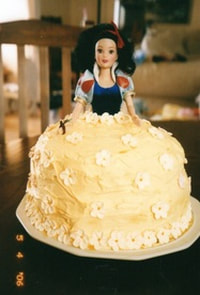
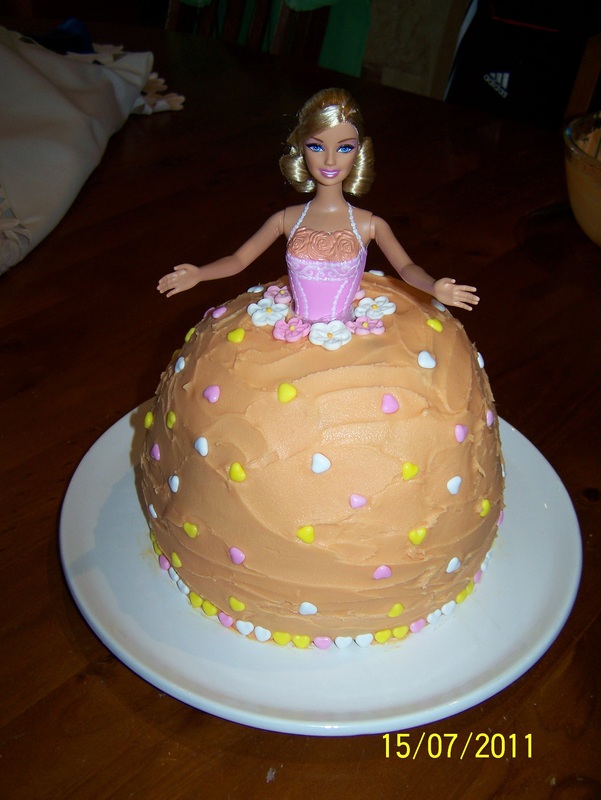
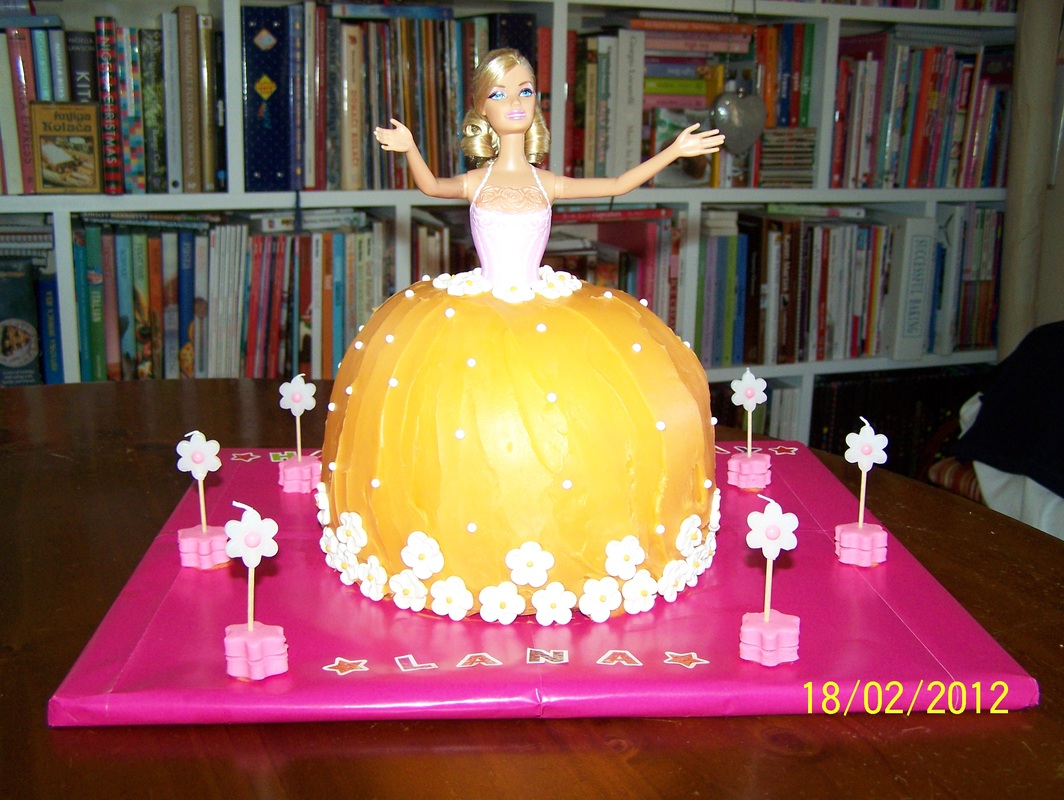
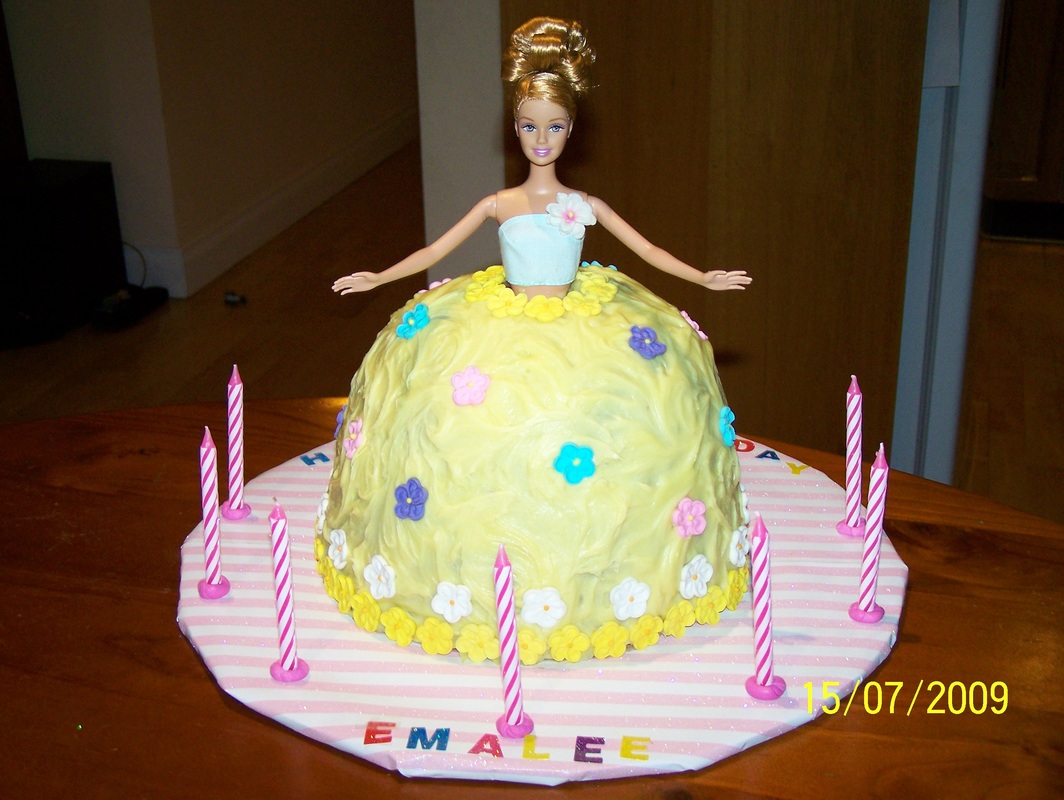
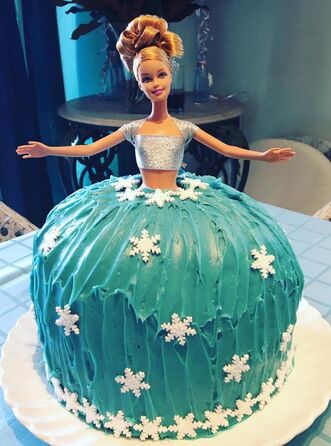
You need to also keep a lookout for cheap Barbies that have pretty tops and gorgeous hair dos. I prefer Barbies that have their hair up. The ones below cost only $10 at the time, and you can use them again and again.
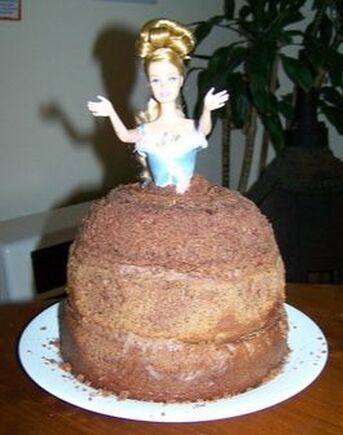
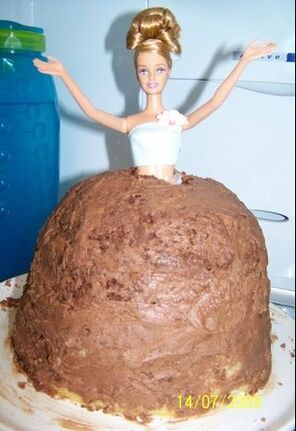
In the pictures below I sandwiched the cakes together with a chocolate ganache, and I even iced the cake in a thin layer of the chocolate ganache to keep the crumbs stuck down. Then I just decorated the whole cake with white chocolate ganache. Just make some extra chocolate ganache, if you like that idea.
I have recipes for mud cakes here on What's Cooking Ella, use my recipe or your own favourite cake recipe.
I have been told by a cake decorating store that ganache will keep for as long as your thick cream use by date. So when making something like this, buy thickened cream with a long use by date.
So if your child loves Barbie, here is one for you to try. This is still one of my favourite cakes to make.
Recipe
I like to use three different cakes-white chocolate mud, chocolate mud, marble mud cakes or red velvet cake, that way when you serve the cake you have three different cakes on offer
White Chocolate Ganache:
600g white chocolate
1 cup (250ml) thick cream
Prepared round cake board
1 Barbie, legs removed
1 Barbie top or ribbon to make a top
Decorations:
Food colouring
Sugar crystals, flower lollies, lollies
Make the 3 cakes of your choice. Don't put any icing on them. This can be done 4 to 5 days before the party.
I like to make the icing on the day of the party, but a ganache can be made the day before needed, just do not refrigerate it once it has set.
Put the white chocolate and cream into a mixing bowl, place the bowl over a saucepan of simmering water. Don't allow the water to touch the bottom of your mixing bowl. Stir the chocolate and cream regularly until all the chocolate has melted. Add enough of the food colour (of your choice) until you have achieved the colour that you like. Refrigerate, stirring every 10 minutes until it becomes a spreadable consistency, and is no longer runny. This can take up to an hour.
You can use buttercream-I just don't like it.
On a plate, not on your prepared board, place the chocolate mud cake, spread some ganache on the top of it, top with the marbled mud cake, spread ganache, followed by the white chocolate mud cake, do not put icing on the top yet..
With a teaspoon carefully start digging a hole in the centre of the top cake that is big enough to fit in the barbie to just below her waist. (Wrap the base of the Barbie in cling film so she does not get dirty). Place the Barbie in the hole, use the bits you dug out to fill in any gaps, and to secure Barbie in place.
Now shape the skirt. You only need to cut the top cake. I like to use a bread knife. Trim it carefully to make a rounded appearance at the top. The bits that you cut off can be piled near the waist, then get glued together with ganache around the waist to give a skirt effect.
Place the cake carefully on to the prepared cake board. Doing small sections at a time, spread the ganache over the cake to form the skirt. It needs to be fairly thick to cover the cake. Smooth out the skirt lightly with a palette knife or keep it ruffled, I like it both ways.
Decorate with whatever you like, lollies, sugar crystals etc. I don't refrigerate the cake if using the same day, as some lolly decorations start to bleed into the skirt. If it is a hot day, I turn on the air conditioner to keep the room cool.
To serve, take out the Barbie, separate the cakes, slice and serve.
Enjoy!
Pin it: www.pinterest.com/pin/399413060675761030/
 RSS Feed